This guide outlines the steps needed to connect Sage Intacct with Dryrun for seamless data integration. Follow these instructions carefully to ensure a successful setup.
Step 1: Enable Web Services
- Log into Intacct using an account with administrative privileges. Navigate to:
Company > Subscriptions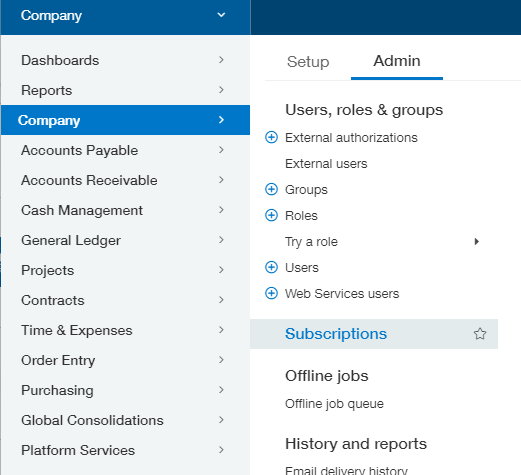
- Enable Web Services by scrolling down to Web Services and clicking the switch to enable it.
Note: The warning about additional fees does not apply in this case.
- Go to Company Configuration. Access the Setup > Configuration tab to adjust settings.
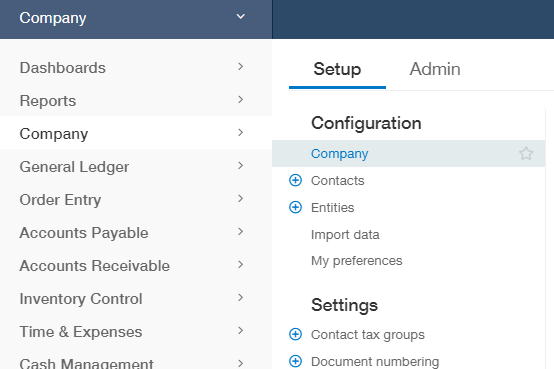
- Access the Security Tab. Open the Security Tab and click Edit in the top-right corner.
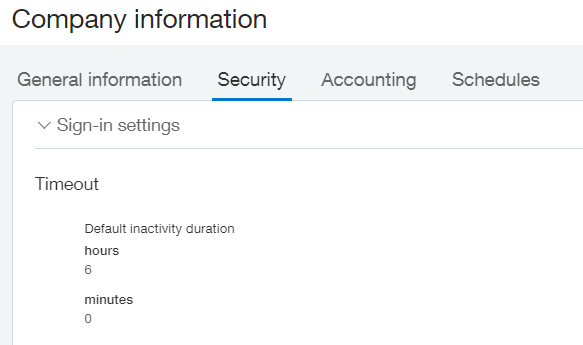

- Add Web Services Authorization: Scroll down to the Web Services Authorizations section and click Add.

- Enter Sender ID: Input LEVRMediaMPP as the Sender ID. Optionally, add "Dryrun" as the description. Ensure the status is set to Active and click Save.
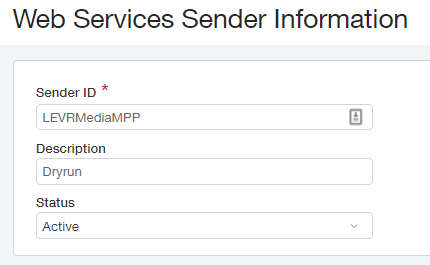
- Verify Authorization: Confirm that LEVRMediaMPP appears in the list of Web Services Authorizations. You are now ready to proceed with the connection to Dryrun.

Step 2: Create a Web Service User
- Navigate to Web Service User: Go to Company > Web Service User.
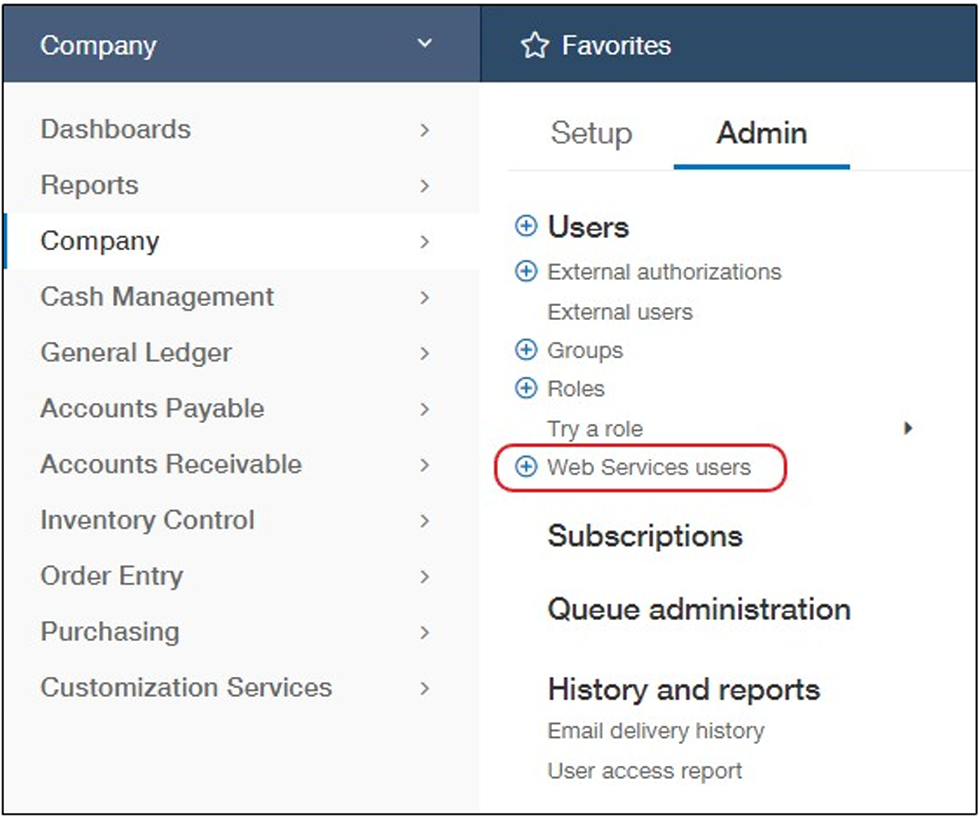
- Create a New User:
Click New to begin creating a Web Service User. - Fill in User Details:
Complete the following fields:
o User ID
o Last Name
o First Name
o Email Address - Set User Type:
Select Business User as the user type. - Assign Permissions:
o Navigate to the Roles Info Tab and assign the user to an appropriate role.
o If no suitable role exists, create a new role with the following permissions:
Company
Cash Management
General Ledger
Accounts Payable
Platform Services
Accounts Receivable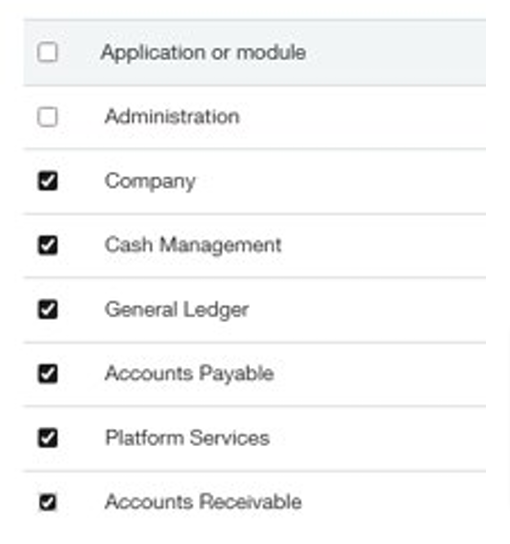.png)
- Save the User:
Click Save to finalize the new user. Ignore any warnings about charges for creating the user. - Retrieve Login Credentials:
Check your email for the user’s credentials. These will be needed for the Dryrun authentication window.
Step 3: Connect to Dryrun
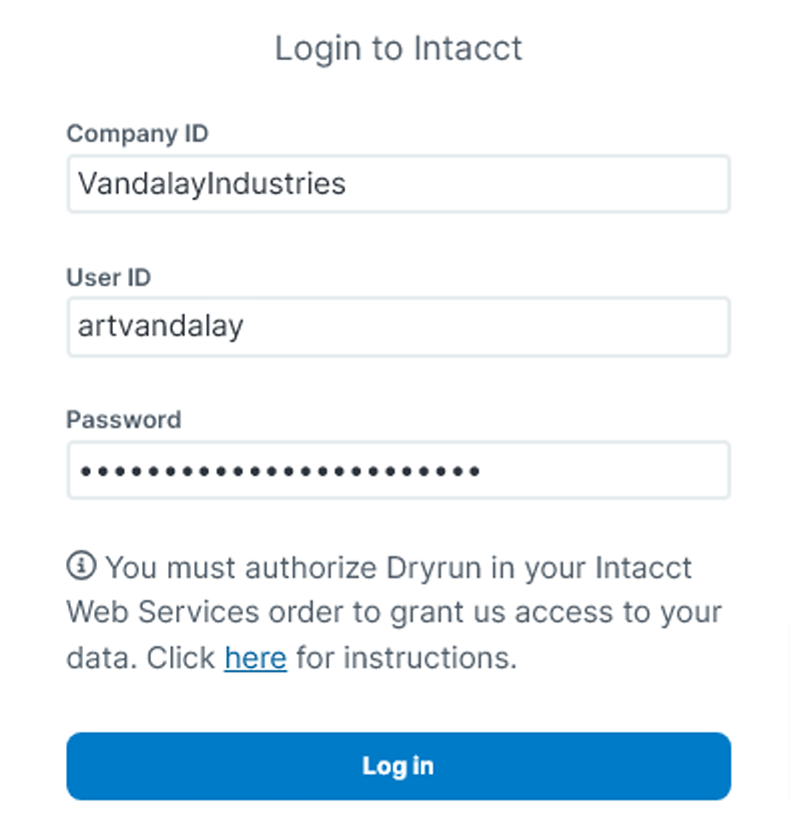
- Log into the Web Form: Use the provided credentials and your Company ID to log into the Dryrun web form.
Your credentials are securely stored and protected using industry-standard measures. - You are now connected to Dryrun!
Proceed through the Import Wizard to sync your data.
.png)
Have feedback or need more help? Chat us up in-app or send us an email at hello@dryrun.com